Reimaging LiveWire with an ISO image
You can reimage LiveWire remotely using iDRAC and an ISO image available from LiveAction technical support. See Contacting LiveAction support.
To reimage LiveWire:
1. From the remote console, click . The Virtual Media dialog appears.
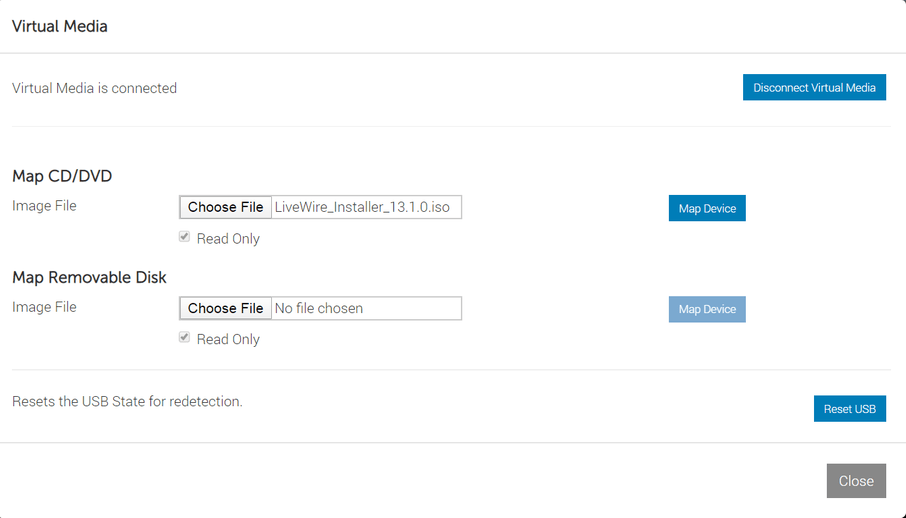
2. Click under Map CD/DVD to select the ISO file (e.g., omni-20.1.0-x.iso), and then click . The ISO image is mapped to the CD/DVD drive.
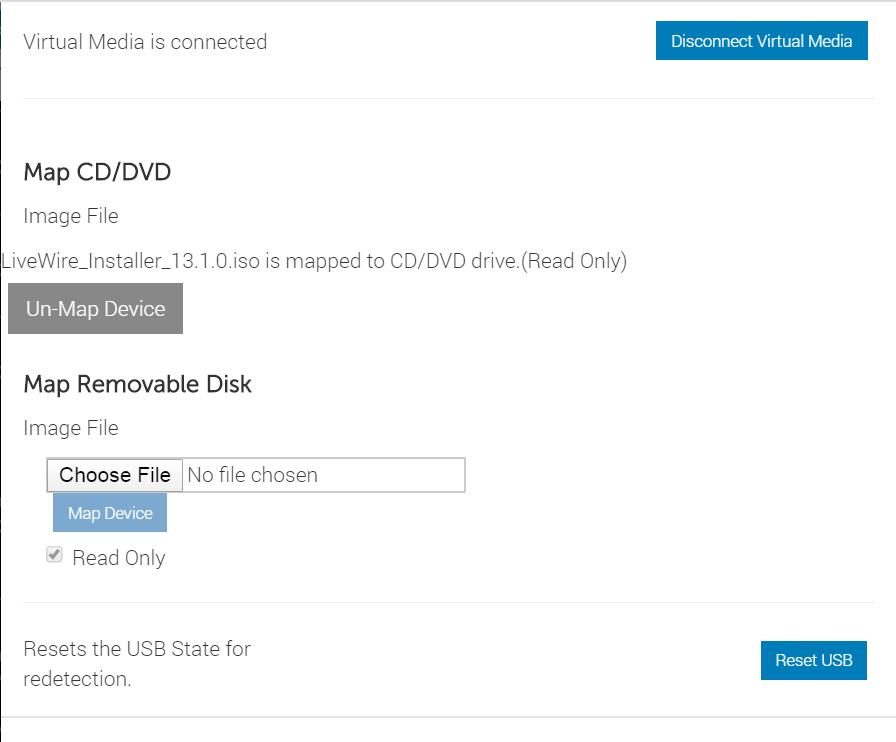
3. Click to close the dialog.
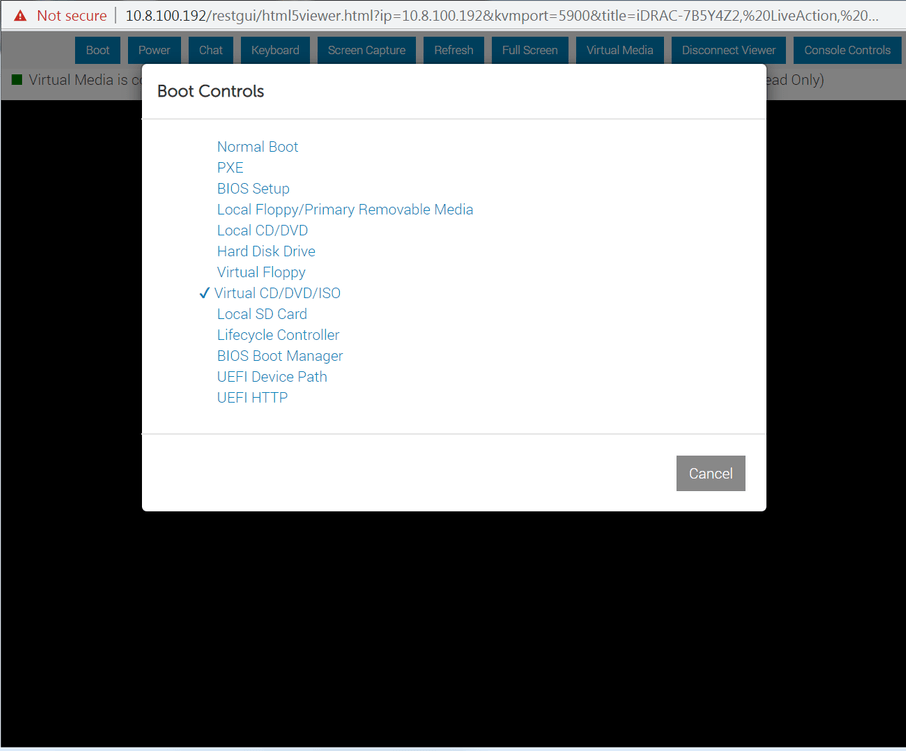
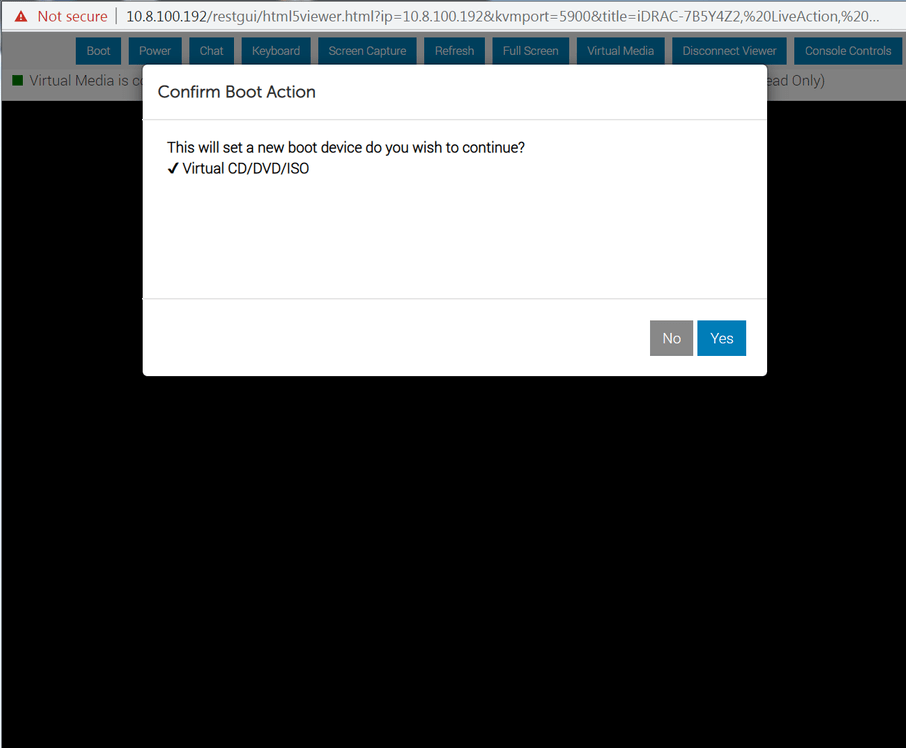
4. From the remote console, click and select Virtual CD/DVD/ISO from the boot controls. The Confirm Boot Action dialog appears.
5. Click to set the Virtual CD/DVD/ISO as the new boot device.
6. From the remote console, click and select Power Cycle System (cold boot). The Confirm Power Action dialog appears.
7. Click to execute the Power Cycle System (cold boot).
8. Click to confirm, and the system will start to load the ISO image. Allow the system to fully boot from the ISO image.
9. Once the ISO image is fully loaded, you are prompted to log into the boot ISO image. Log in using the username ('root') and password ('liveaction').
10. At the command prompt, type livewire-install and press . You will receive a warning message that all data will be lost.
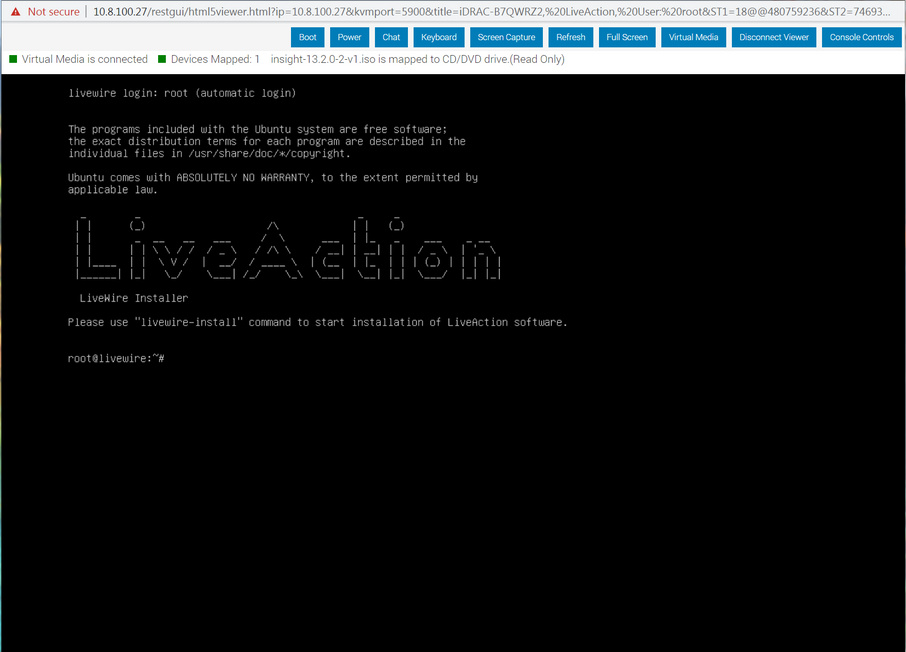
11. Type Yes and press . The install process takes up to 20 minutes.
NOTE: When running the livewire-install script though the remote console, do not close the console until the script completes. Closing the console prematurely causes the reimaging process to fail.
12. When the install process is finished, type reboot and press . You will receive instructions to eject any disc.
13. Click the Power button again and select .
14. Once LiveWire has rebooted, you can proceed to configuring the management IP, time zone, NTP, and other settings for LiveWire as you normally would. See those sections in this guide for instructions.